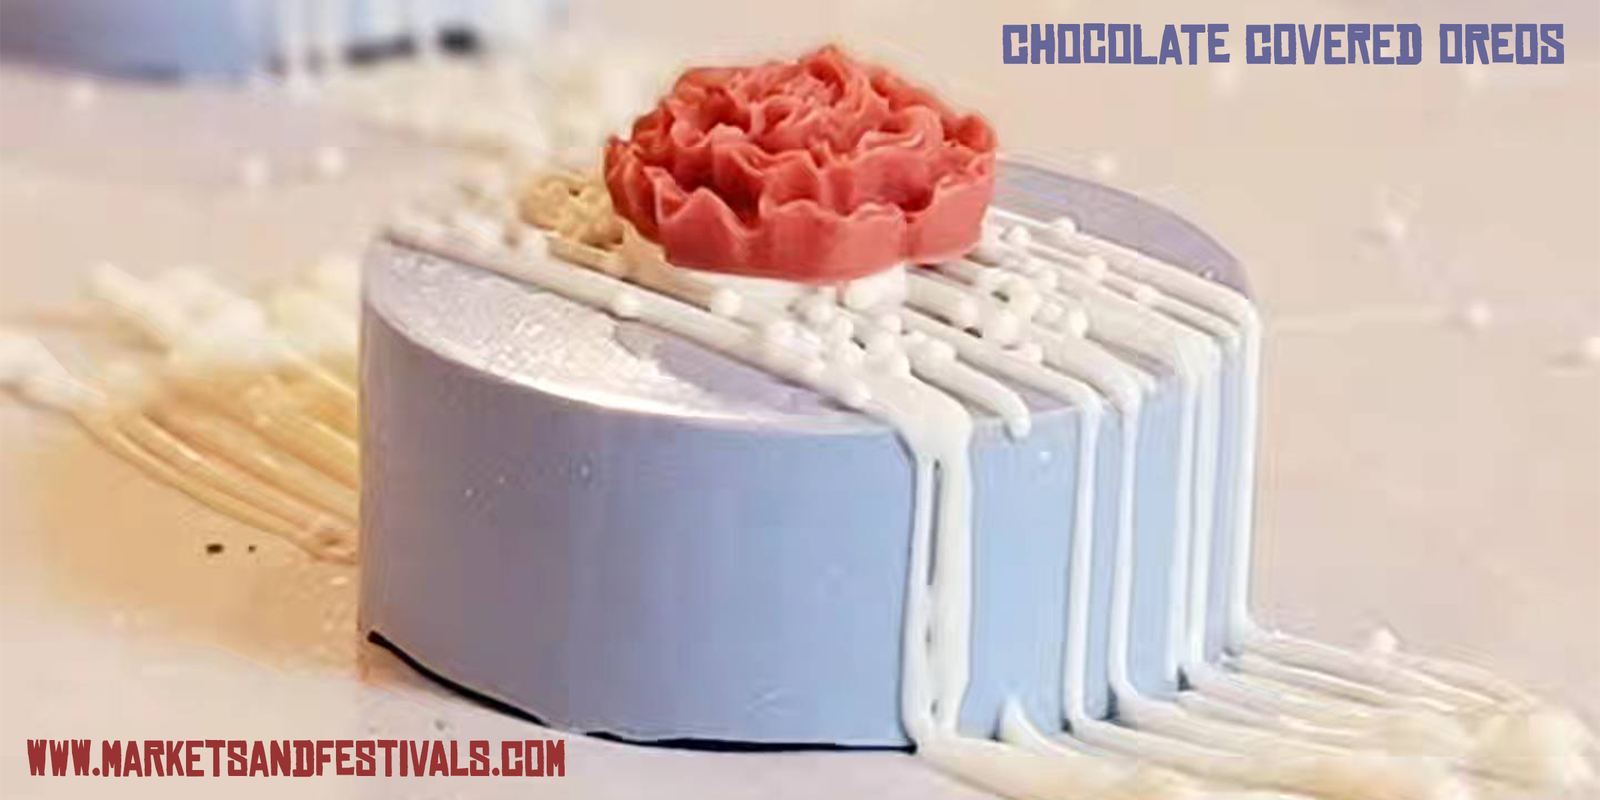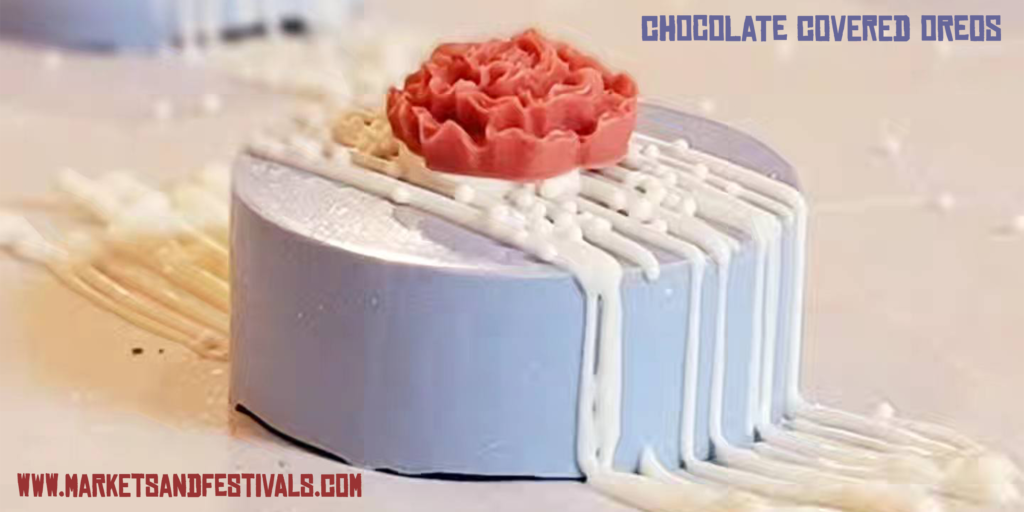
We are breaking down all of the details you ACTUALLY want to know when it comes to making and selling chocolate covered Oreos. These are a great addition to many sweets and treats business because they are easy to make in bulk, can be frozen, and help pad the profits through out the year!
We will cover exactly what you need, where to get it, and what the price break down is on everything (prices are quoted at the time of this article so things may vary slightly).
This guide is for a simple milk chocolate Oreo with white chocolate drizzle that will be prepped and packaged to sell at an event. If you are making these for friends and family you will have a couple less steps/purchases but this guide will include packaging information to help with the true cost break downs for the intent of selling chocolate covered Oreos.
Are you a visual learner? Check out our TikTok going over this entire process HERE.
- One Time Purchases (If you click on each item it will take you directly to where you need to purchase that item)
Chocolate Melting Container | Amazon (You want a plastic container – not glass – as glass can burn or cause your chocolate to seize if it gets to hot. These containers are dishwasher safe and reusable.)
Chocolate Stir Spatula | Amazon
Chocolate Oreo Mold | Amazon | (I would start with three of the 3-packs to be able to prepare a full pack of Oreos at one time)
Heat Sealer | Amazon
Airtight Container | Amazon (You can also start off with more budget friendly storage tools like Ziplock baggies but we like how these bins keep things secure from movement scuff during travel and stack in our small chest freezer.) - Reoccurring Purchases/Product Cost
Oreos | Walmart | $6 Party Pack/$0.10 per cookie
Chocolate | Stover & Company Eleven O’One & Sweet Shoppe (get the white and milk version of both brands) | $0.20/oz (Eleven O’One often sells out so keep an eye out for their restocks!)
Piping Bag | Amazon | $0.07 per bag
Packaging | Amazon | $0.08 per bag (We opt for heat seal bags for freshness over the cheaper self seal cellophane alternatives) - Optional Items for Decorating (we show samples of each of the following decorating results in our TikTok video HERE)
Flower Chocolate Mold | Amazon
White Nonpareils Sprinkles | Amazon
Sanding Sugar | Amazon (This link will take you to the white but they have a great assortment of most colors you would ever need. This is our favorite chunky sugar.)
Chocolate Oil Based Coloring | Amazon (Oil based coloring is a must for coloring chocolate!)*If our chocolate recommendation above is ever out of stock and you are struggling with getting a thin enough consistency with other brands – you can buy only the Sweet Shoppe or Merkens brands from Stover & Company and use EZ Thin to help thin your consistency. ALSO always add the cold pack to your chocolate when checking out with them to protect your chocolate from melting in transit.Ready to buy what you need? We made an Amazon list of every item mentioned in this guide (excluding the main chocolate recommendation as that is not usually found on Amazon): Amazon List – All things Chocolate Covered Oreos

Cost Break Down per batch of 60 Oreos
Oreos: $6
90 oz Chocolate: $18 (about 1.5 oz per cookie – this part may vary for you. You can also use significantly less chocolate by dipping instead of using the chocolate mold depending on the finished esthetic you are aiming for)
60 Heat Seal Bags: $4.80
1 piping bag for drizzle: $0.08
Total: $28.80 for the batch | About $0.48 per packaged cookie | 25% food cost/75% profit
What should I price my Oreos at?
For in-person events specifically, we found the most success selling our cookies at $2 per cookie for a chocolate base with simple chocolate drizzle. If we add chocolate flowers, themed sprinkles, custom color options, other theme/holiday chocolate mold accents than we do $3 per or 2 for $5. You can also choose to price with change – we personally don’t like carrying physical change so all of our prices were whole dollars. To help save on labor we bulk make our cookies in our slower periods freeze or refrigerate them until event day.
Sales
Sales will be different for everyone but to give you an idea of our sales: On the low end we sell about 15 cookies per event ($30 in sales) and on the higher end we sell about 50 cookies per event($100 in sales). We do about 40 events per year (we take summers off because….Florida). Last year (2023) we brought in $3260 just in chocolate covered Oreos at in-person events (this number excludes any of our online cookie sales). Our top selling events were craft festivals, and holiday specific events. So all in all, we are a big fan of adding these to our menu because of how simply and easy they are to make, how well they store, and how much they add up over the year.
Step by Step: Making the Oreos
Are you a visual learner? Check out our TikTok video going over this entire process HERE.
1. Open your Oreo package. Set out all of your Oreo molds. Set out your chocolate and plastic container for melting the chocolate. Set out your spatula for stirring the chocolate.
2. Fill your plastic container with your milk chocolate for melting. Equal parts Eleven O’One and Sweet Shoppe will make the perfect consistency for MOST chocolate needs. For Oreos in the molds you have a little more wiggle room on your chocolate consistency not being perfect. If you are dipping your Oreos and not using the mold, you will care about the coverage consistency a lot more. Heat the chocolate at 30 second intervals in the microwave on full power. Stir between each 30 second session. You won’t notice much of a change after the first 30 seconds but be sure to stir anyway. Stirring well each time should help melt the final small bits but if you are close to the consistency you want you can switch to 15 second intervals for the last heat up until you are completely smooth. Our Tip: If you find your mixture is ever running too thin you will add more Sweet Shoppe and if it’s too thick you will add more Eleven O’One. You can use almost any chocolate at a 50/50 with Eleven O’One and get a good dipping or coating consistency that rarely ever seizes – I don’t even make money on recommending them – it’s just a genuine foolproof option that I wish I knew when I first started. In our experience these brands also taste way better to customers than almond bark which is the most popular budget friendly alternative. #NoGatekeeping
3. Pour your chocolate into the molds 3 or 4 cookie slots at a time and fill them about 50% of the way. Press the Oreo down into the chocolate allowing the chocolate to flow over the edge of the Oreo. Repeat until all slots in the mold are full. Lightly drop the mold on the counter a few times to loosen any air bubbles and flatten the excess chocolate over the Oreos. Then pour your chocolate to top off the cookies until the Oreo can no longer be seen. Once all Oreos are topped you will drop the molds gently on a counter again for the air bubbles and to flatten the chocolate out.
4. Harden your chocolate. Place your molds in the freezer for 5 minutes or fridge for 10-15 minutes or at room temperature for about half an hour. Don’t worry too much about small cracks in the chocolate from the freezer – they typically seal back up when the Oreos come back to room temperature.
5. Once the chocolate Oreos have hardened, you can remove all cookies and place them on to parchment paper for decorating.
6. For the drizzle you will follow the same heating procedure and ratio for the white chocolate as your did for the milk chocolate. Place a piping bag into a large cup and roll the bag over the edges with the point inside the cup. Fill the bag with your white chocolate and cut off a small bit of the tip. Keep in mind you can always cut off more but you can never cut off less.
7. Drizzle all of your cookies until your heart is happy.
8. Plug in your heat seal machine and set out your heat seal bags. We use heat setting 3-4 for most of the heat seal bags we recommend. This may differ for you but that is a good general range if you are using the same heat seal machine we use that is recommended in this guide.
9. Heat seal all of these bad boys. Trim any excess bag past the heat seal.
10. Store all of your finished products in air tight containers/Ziplock baggies.
Storage Guidelines from the USDA
The USDA states the following storage estimates for homemade cookies in airtight containers:
Room Temperature: two to three weeks
Refrigerator: up to two months
Freezer: 8-12 months (Our Tip: chocolate may form larger cracks that don’t seal back up at room temp when left this long in the freezer)
A link to this information can be found on the USDA website HERE.


